This is an updated version of Leptos can use Tailwind CSS and daisyUI without Node.js by Marc, reflecting changes in Tailwind CSS v4 and the current daisyUI standalone release.
Leptos projects created with cargo-leptos have built-in support for Tailwind CSS — no Node.js, no separate build tool, no npm scripts required. cargo-leptos downloads and runs the Tailwind CSS standalone executable automatically as part of the build pipeline. daisyUI plugs into that same pipeline via its standalone .mjs bundle, so the entire styling setup stays purely within the Rust/Cargo ecosystem.
This guide uses leptos-rs/start-axum as the project base. Bootstrap it with:
cargo leptos new --git https://github.com/leptos-rs/start-axum
cd <your-project-name>
1. Integrating Tailwind CSS
Create style/tailwind.css
touch style/tailwind.css
Add the Tailwind CSS v4 import directive:
@import "tailwindcss";
That single line is all cargo-leptos needs to kick off the Tailwind build.
Configure Cargo.toml
In the [package.metadata.leptos] section of your Cargo.toml, add the following key to point cargo-leptos at your new CSS source file:
[package.metadata.leptos]
# ... existing config ...
tailwind-input-file = "style/tailwind.css"
Note: If there is an existing
style-fileentry referencing a.scssor.cssfile, you can remove it —tailwind-input-filetakes over as the CSS entry point.
Try it out
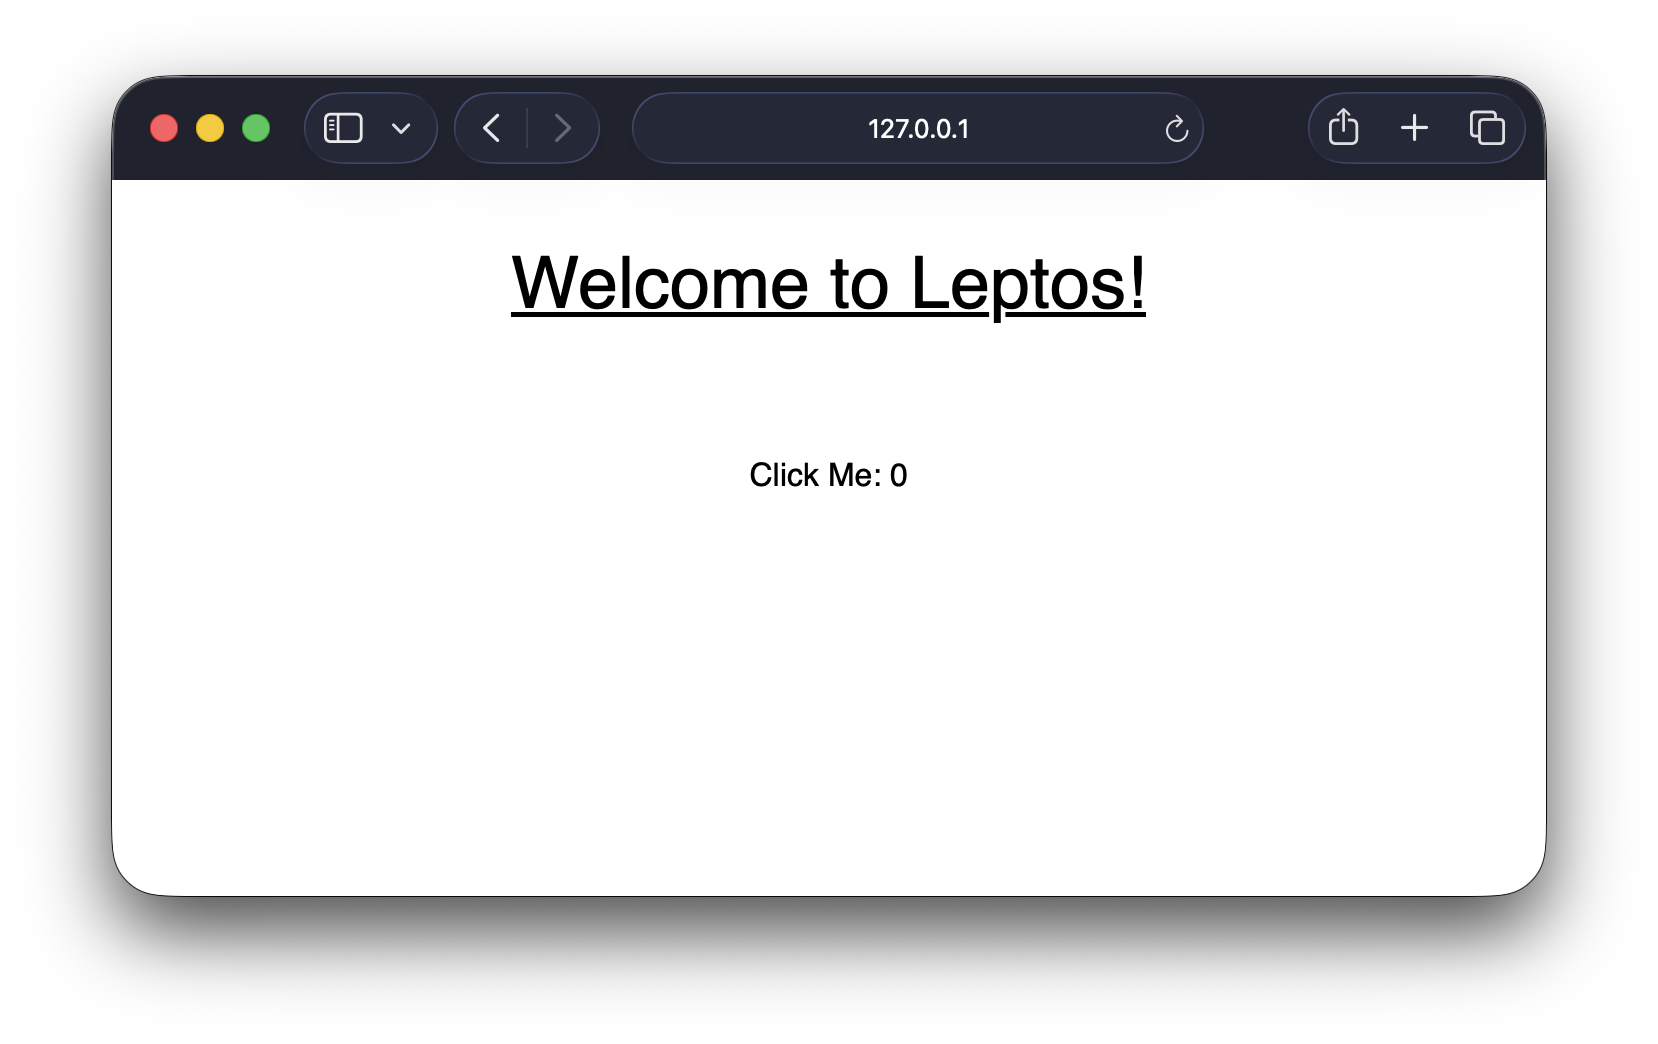
Update the HomePage component in src/app.rs to use some Tailwind utility classes:
<h1 class="m-8 text-4xl underline decoration-solid">"Welcome to Leptos!"</h1>
Then start the dev server:
cargo leptos watch
cargo-leptos will download the Tailwind executable on first run, process style/tailwind.css, and serve the compiled stylesheet alongside your app.
Optional: By default,
cargo-leptosdownloads Tailwindv4.2.2. To pin a different version, set theLEPTOS_TAILWIND_VERSIONenvironment variable before running the dev server, e.g.export LEPTOS_TAILWIND_VERSION=v4.1.5.
2. Integrating daisyUI
daisyUI ships a self-contained .mjs bundle that Tailwind CSS v4 can load directly as a @plugin — no npm install needed.
Download the daisyUI bundle
Download the latest daisyUI standalone bundle directly into your style/ folder:
curl -sLo style/daisyui.mjs https://github.com/saadeghi/daisyui/releases/latest/download/daisyui.mjs
Hint: The official daisyUI standalone install docs can be found at daisyui.com/docs/install/standalone/. They also describe an optional
daisyui-theme.mjsfile for custom theme definitions.
Update style/tailwind.css
Edit style/tailwind.css to load the daisyUI plugin and configure your themes:
@import "tailwindcss";

@source not "./daisyui{,*}.mjs";

@plugin "./daisyui.mjs" {
    themes: light --default, dark --prefersdark;
}
The @source not directive prevents Tailwind from scanning the daisyUI bundle file itself for class names, which keeps the build clean and fast.
Use daisyUI classes in your component
Update the HomePage component in src/app.rs to use daisyUI component classes alongside Tailwind utilities:
<h1 class="m-8 text-4xl underline decoration-solid">"Welcome to Leptos!"</h1>
<button class="m-8 btn btn-primary" on:click=on_click>"Click Me: " {count}</button>
Run the dev server again:
cargo leptos watch
The button will now render with daisyUI’s themed btn btn-primary styles, and the active theme will automatically follow the user’s prefers-color-scheme setting.

That’s it — a fully styled Leptos app with Tailwind CSS v4 and daisyUI, driven entirely by cargo-leptos with no JavaScript toolchain required.